
Had a great day today, finally got out of the house for the first time in what feels like forever. Got to talk for a bit with my best friend, did some thrifting and found two cute cardigans and an army green shirtdress for $8 total! We also did a little supply run for some more resin at Michael's and Shane found some glycerine so he can start making his own shisha (flavored tobacco for hookahs). All in all, it was a successful outing. Anywho, enough about my day, I'm here to show you how to make some cute handpainted fabric cuffs, so here we go!!
Here's what I used:
 |
| strips of various fabrics, acrylic paint, ruler, scissors, vintage enamel snaps, and a pen/marker & a hammer (not pictured) |
Take your fabric of choice and measure out how long you want the cuff to be on the WRONG side of the fabric. you will be marking directly on the fabric, and you don't want that to show when you're finished.
You will need to allow about 1" extra on the length to make up for where the fabric will overlap to snap together. For example, I want my cuff to be about 7", so I measure for 8". I mark at 8" on both sides of the ruler, and make a line along the ruler on both sides, since my ruler is about 1" wide, which is how wide I want my cuff to be.


Cut along the lines you drew, as straight as possible. I am HORRIBLE at cutting straight lines, and I know I'm not the only one! :)

Make sure your ends are also straight.

Mark a dot with your pen about 1/4"-1/2" from the end of your fabric, in the center, like this:

This is where you will insert the first part of your snap. These snaps come in 4 parts. Stick the prongs of this piece over where you marked the dot. Make sure this piece is as centered as possible before you push it through the fabric.

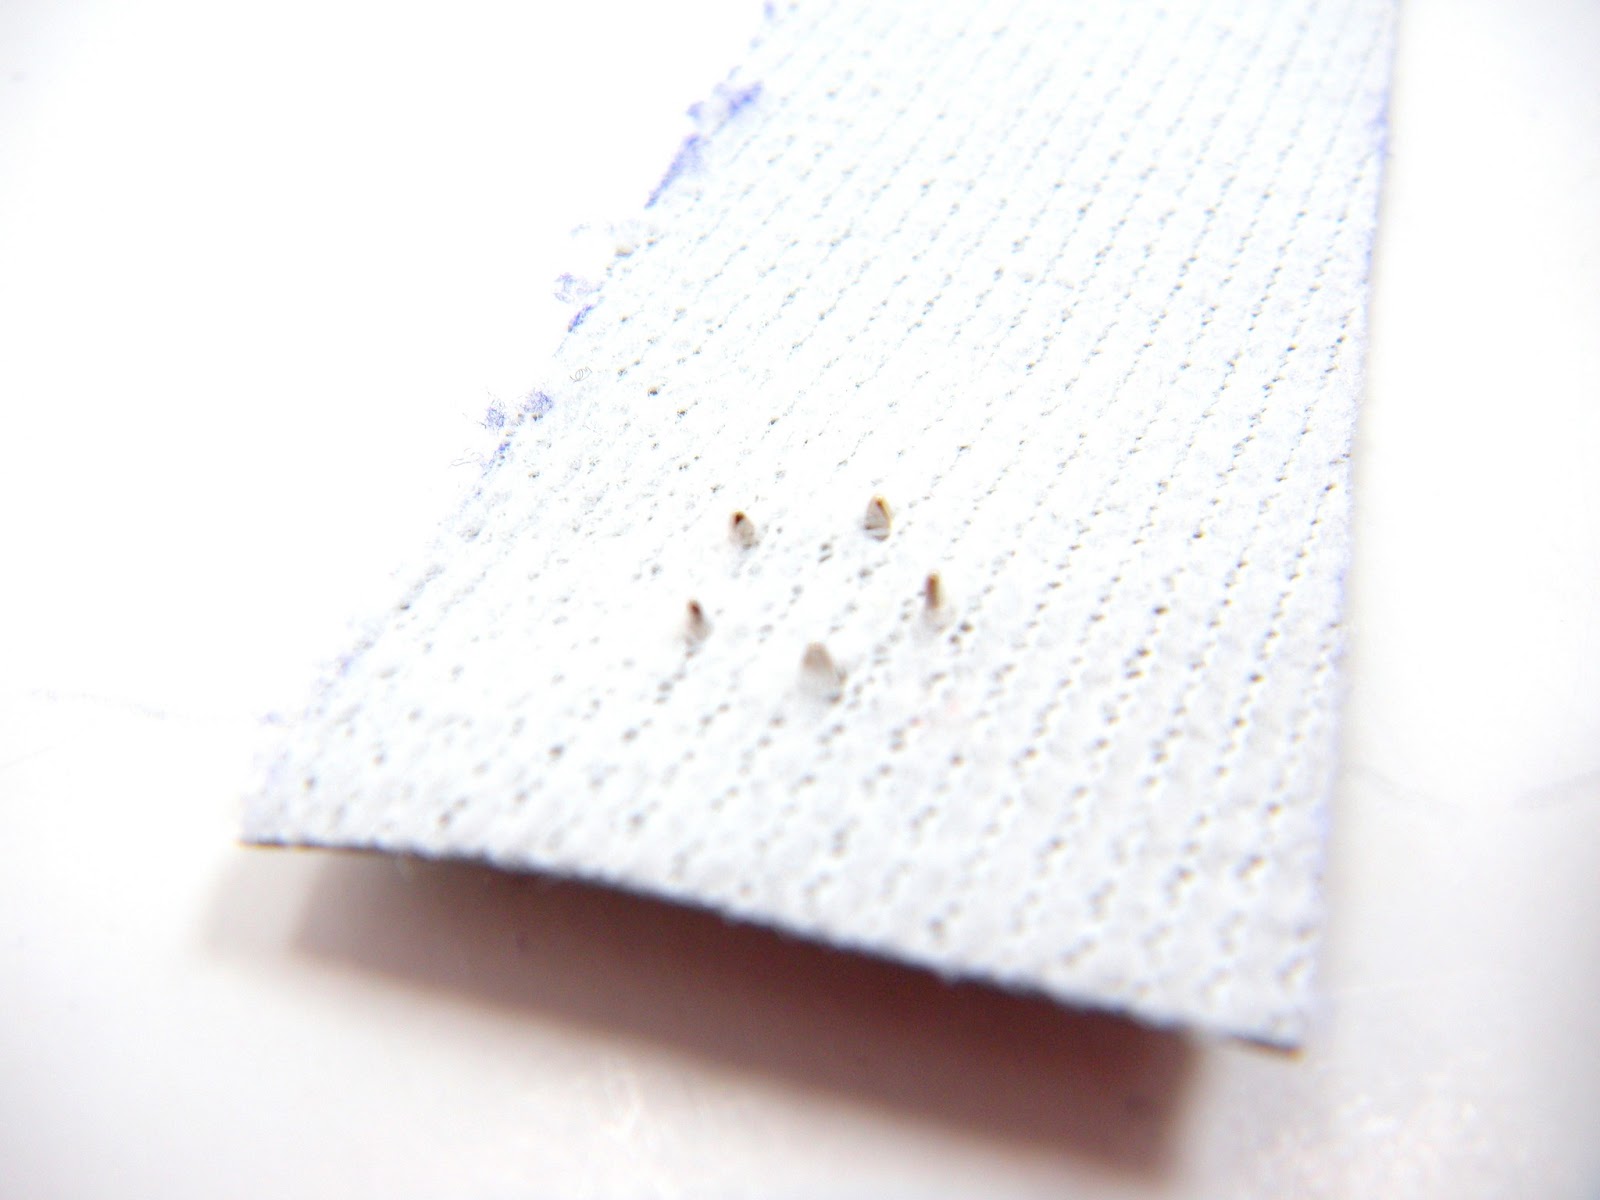
Work the fabric gently with your fingers to guide the prongs through to the tougher vinyl side.

Use this part of the snap and fit it over the prongs. Only one side will fit correctly. Once you have it placed over the prongs evenly, (as shown below), use a hammer and hammer this piece into the prongs.

If you are not sure whether it's tight enough, do a fingernail test. If you can fit your fingernail between the fabric and the metal of the snap, you will need to hammer it a few more times. It should look like this, flush with the right side of the fabric.

Now, grab your marker/pen again and mark in the same spot on the OTHER end of the cuff, on the RIGHT side. This will be covered by the snap, so don't worry about it showing. Fit the prong piece from the right side to the wrong side of the fabric, opposite of before. It should look like this:

Now, fit your last snap piece onto the prongs and hammer it down again. Below is before hammering. There should be no gap between the fabric and the snap after you hammer.

After hammering:

Now your snap is done!

Your cuff is now ready to be painted with whatever design you choose! I like to either freehand designs, or I use my clay cutters (if you do this, make sure you wash them thoroughly before and after. You don't want clay getting into your paint or vice versa!) and dip them in paint, to stamp shapes that i can fill in later.
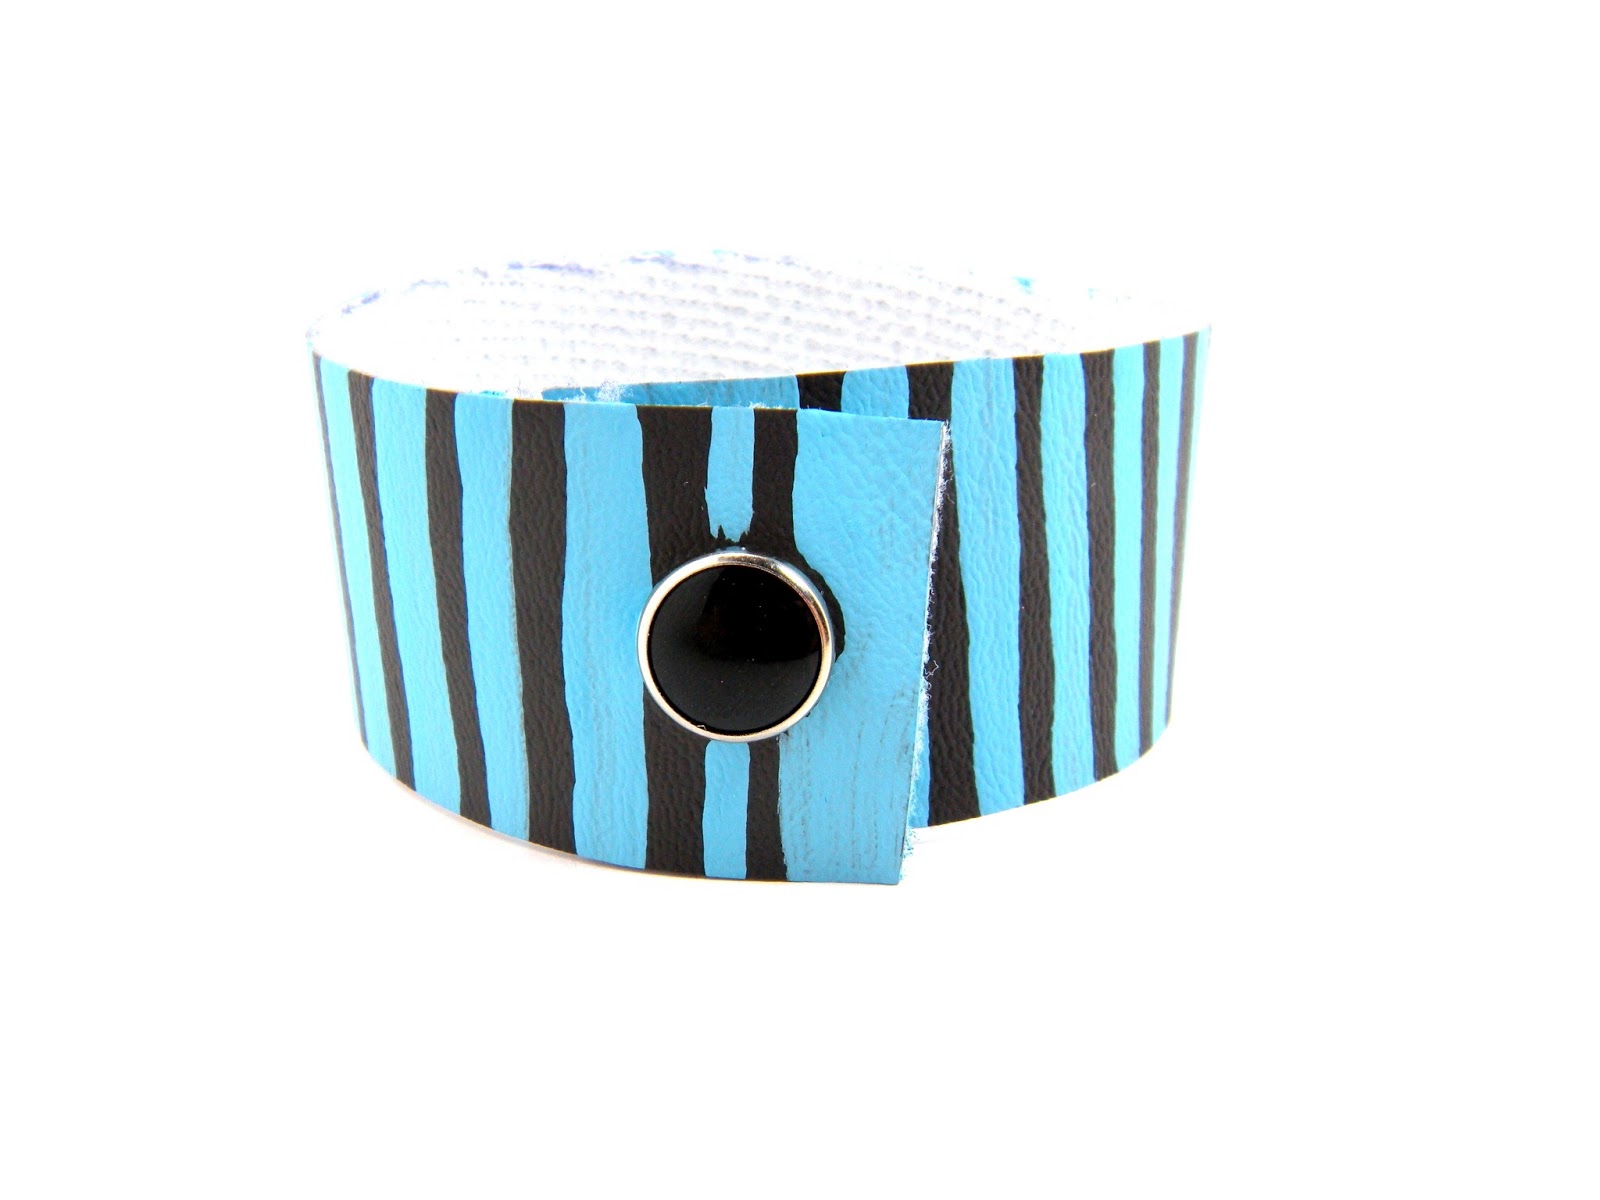
For this cuff, I chose to do some freehand turquoise stripes in varying widths.

The Completed cuff:
And here are a few others that I made:


If you don't have the time or patience to make these on your own, stop by the shop! I have the turquoise cuff with the yellow triangles and the green cuff with the silver and black bubble design for sale!
Time for you to get to work making custom fabric cuffs of your own!
As always, comment here or shoot me an email with any questions or comments, I'm here to help!
xoxo,
Meagan
No comments:
Post a Comment